Fork Installation - DirtImproper fork installation is the number one source of harshness (number two is too much spring preload.) The forks must be installed so the tubes are parallel to each other. Doing it right makes everything better. If they are not parallel they will bind and be harsh. The bushings and coatings will wear prematurely. |
|
|
|
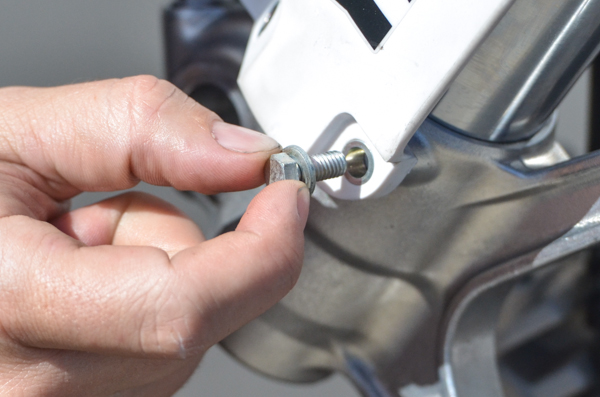
1- Slide the forks through the triple clamps and lightly tighten the pinch bolts.
Note: It may seem obvious but the fork tubes and axle must be straight.
|
|
|
2- Check that both of the forks are installed at the same height. Start at factory settings.
This is a tuning variable for chassis geometry. Contrary to popular belief lowering the front end (raising the tubes in the triple clamps) usually DOES NOT make the bike turn better. See "Race Tech Motorcycle Suspension Bible" for details.
|
|
|
3- Torque the pinch bolts to OEM specifications (typically
16 ft-lbs for the top, 14 ft-lbs for the bottom - but please check).
|
|
|
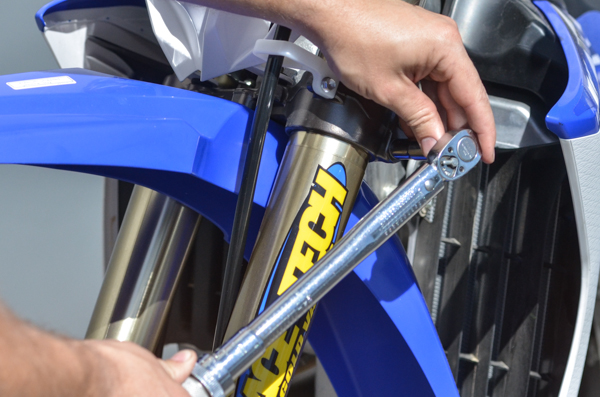
4- Install the fork guard bolts.
Note: Make sure these bolts are the original length. If you use bolts that are too long on some models it will dent the inner fork tube and lock the fork spring into the tube.
|
|
|
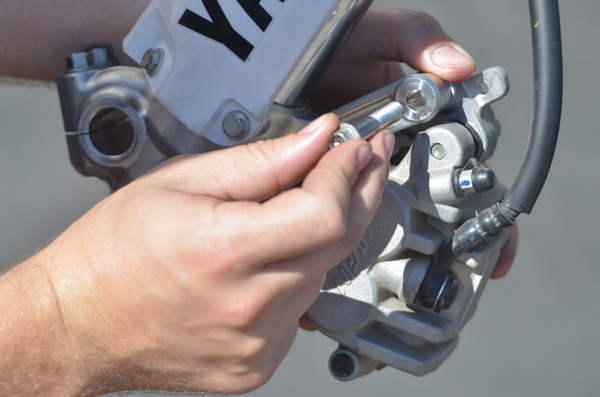
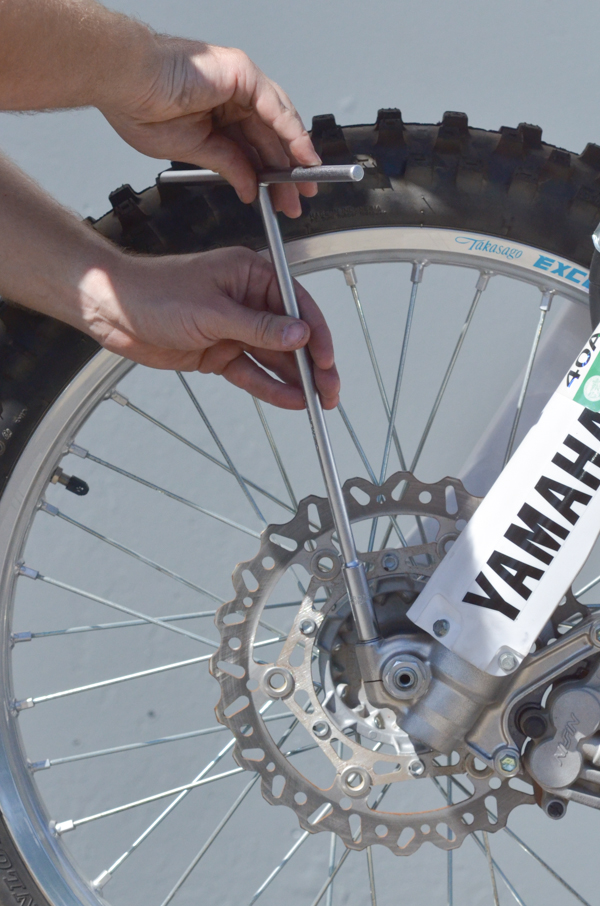
5- Install the brake calipers bolts...
|
|
|
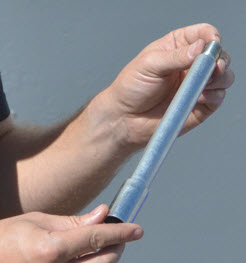
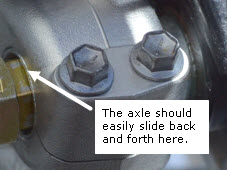
6- Check the axle for burrs at the transition where it steps up to the largest diameter.
This is common and is often the source of fork bind. File these burrs if necessary.
An easy way to check for a burr is to reverse the axle and slide the large diameter side all the way through the right fork bottom and see if it hangs up.
|
|
|
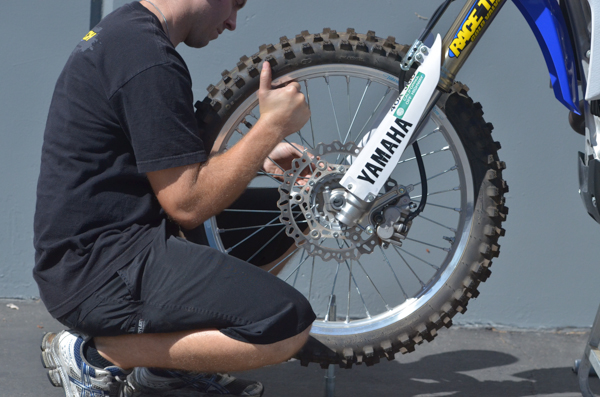
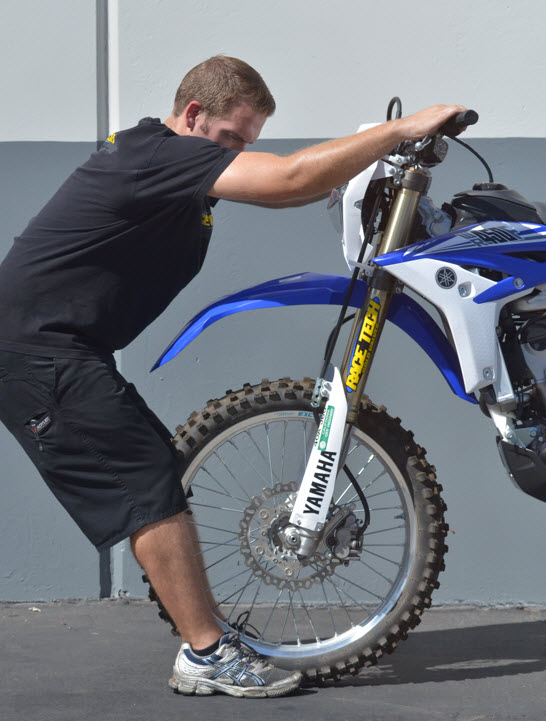
7- Put the wheel into position and insert the axle.
|
|
|
8- For this style install the axle nut.
On some models the axle threads into the fork bottom (no nut).
A little grease on the thread is fine. Do not grease the entire axle.
|
|
|
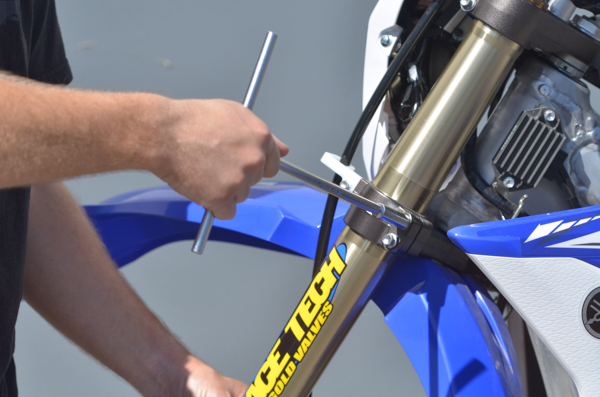
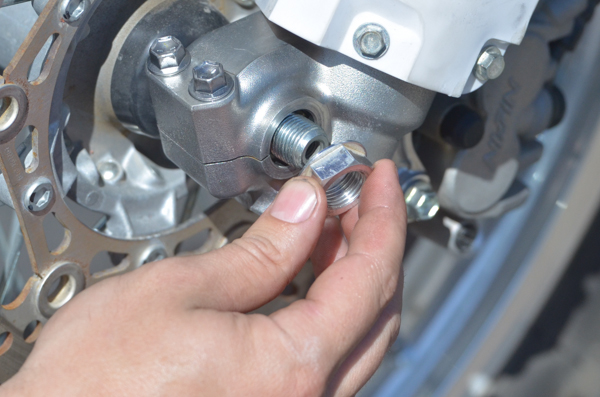
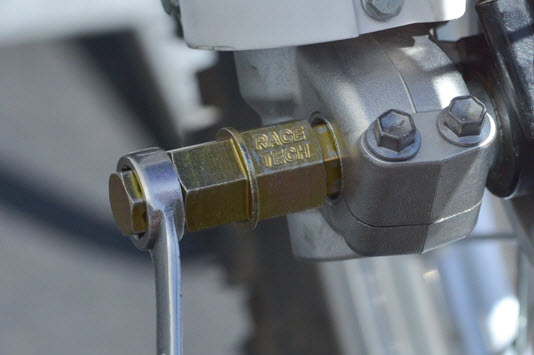
9- On this style with the nut, use the Axle Tool (TFHD 1724) to hold the axle in place.
You can also hold the axle by temporarily pinching it with the axle clamp (in this case the right side) but you MUST make sure you loosen the axle clamp to do the next step - THIS IS THE NUMBER ONE ERROR PEOPLE MAKE.
|
|
|
10- For this style tighten the axle nut.
For the style that threads into the fork bottom tighten the axle.
|
|
|
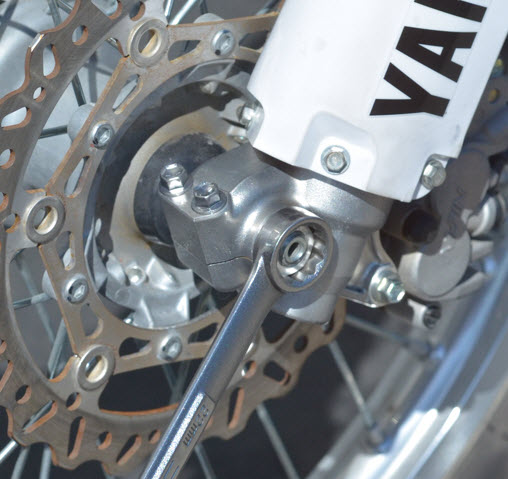
11- For this style loosen the right hand axle pinch.
Make sure the axle slides sideways easily in the clamp. Pay attention to the amount the axle sticks out of the fork bottom.
This is the wrong picture because the axle tool should not be here. I will get a new one soon.
|
|
|
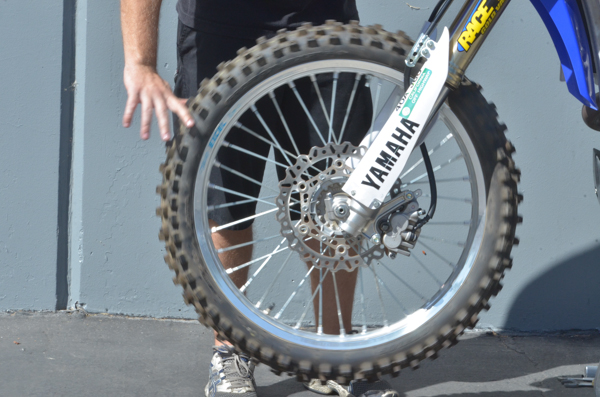
12- With the wheel off the ground, spin the front wheel...
|
|
|
13- and grab the front brake. Notice if the axle has moved in or out (sideways) in relation to the fork bottom. Repeat this two more times.
To make sure this is right you can push the fork bottom in (sideways), spin it, hit the brake, and watch it move back to its aligned position.
Then pull it out, spin it, hit the brake, and watch it move back.
It should end up in exactly the same place.
|
|
|
14- Another method to align the tubes is to compress the front forks a few times while holding the front brake.
Again, to make sure this is right you can push the fork bottom sideways, compress the fork a few times, and watch it move back to its aligned position.
Then pull it out, compress it a few times, and watch it move back.
It should end up in exactly the same place.
|
|
|
15- Once the forks are properly aligned, tighten the axle pinch bolts.
Ready to ride!
|