Skip to content
RT_E2_Logo

SUSPENSION & ENGINES

  • SEARCHES
    • Product Search
    • DVS Valving Search
    • Spring Rate Search
    • TNK Fork Tube Search
    • Instructions Search
    • Basic Setup Search
    • Engine Search
  • PRODUCTS
    • Suspension
    • Engines
    • Lubricants
    • Tools
      • Fork Tools
      • Shop Tools
      • Shock Tools
      • Dyno Mounts – CTW and Roehrig
      • Engine Tools
    • RT Merch
    • Stickers-Banners
    • Suspension Bible
    • Vintage (pre-2000)
  • SERVICES
    • Suspension
    • Engines
    • Brake Arcing
    • Race Tech Centers
  • ABOUT
    • About Race Tech
    • Contact Us
    • RT Policies
    • Rider Support
  • RESOURCES
    • Instructions
    • Service Request Forms
    • Shipping
    • Contact Us
    • Suspension Bible
    • Mental Edge Video
    • Seminars
    • Downloads
  • LOGIN
  • CART
PRODUCT SEARCH
DVS VALVING SEARCH
SPRING RATE SEARCH
ENGINE SEARCH

FORK SPRING PRELOAD - INTERNAL TOP-OUT SPRING
WP 4CS and
OPEN CHAMBER CARTRIDGE

These instructions show Fork Spring Installation on a WP 4CS Fork. The procedure is similar for any Open-Chamber, Internal Top-out Spring Cartridge Fork.

FIRST STEP - Identify your Top-Out Spring Type (displayed in Product Search)
     Internal Top-Out Spring, Open-Chamber - Continue with these instructions

Internal Top-Out Spring, Twin-Chamber/Closed Cartridge - Click Here

     External Top-Out Spring - Click Here

If your Top-Out Spring Type is not listed in Product Search you must identify what type you have. Remove the cap and spring and pull up on the damping rod. It should feel at least slightly springy. If it feels completely solid these instructions do not apply. See External Top-out Spring.


Yes, that's Master Suspension Technician Alan "AJ" Peck's arm again.

Click to enlarge

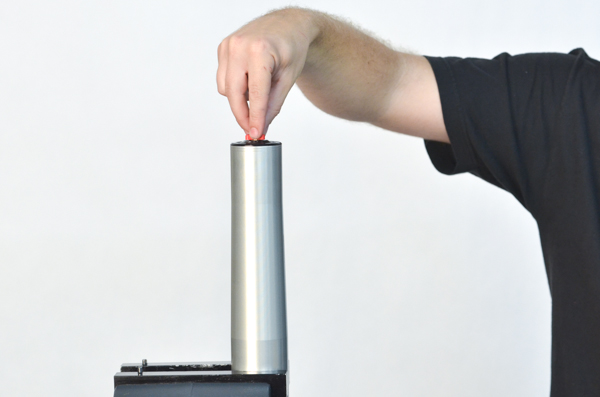
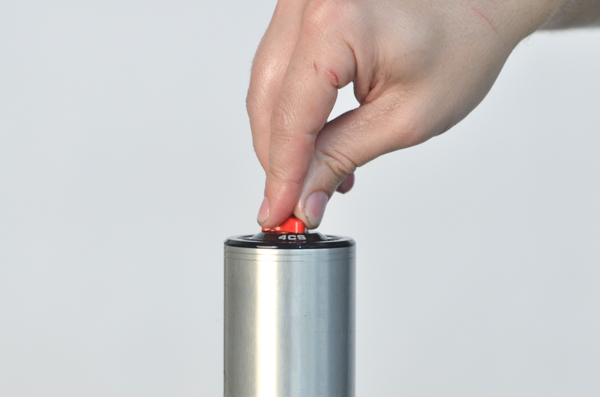
These instructions are made using an Upside-Down WP 4CS fork. This one is a little tricky because the spring rests up inside the cap. Everything else is the same for both Right-Side-Up (conventional) and Upside-down forks.
1-  Back out any damping and/or Preload Adjusters on the fork cap all the way.
 
This step is in preparation for reassembly so the adjuster is not damaged.

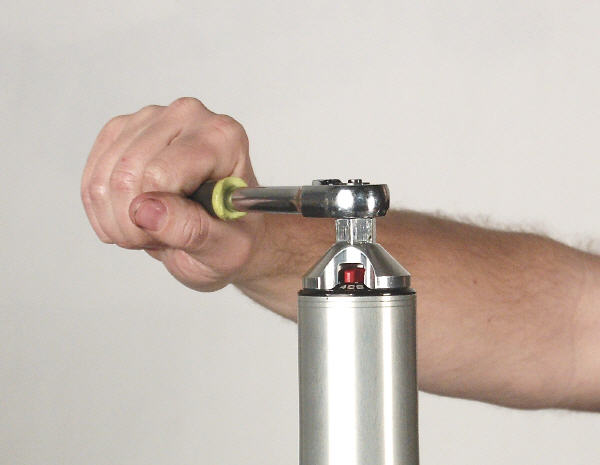
2- Unscrew the fork cap.
 
For the WP 4CS fork we have a really cool Fork Cap/Comp Assembly Tool (TFCW PS3648) available.

3- Use the pin spanner or fork cap wrench and the appropriate wrench to remove the cap from the damping rod.

Remove the Spring.

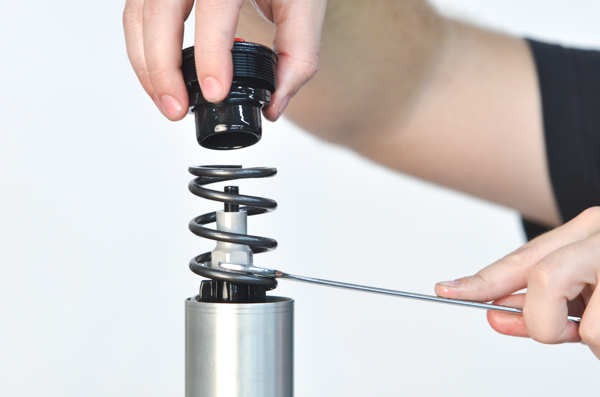
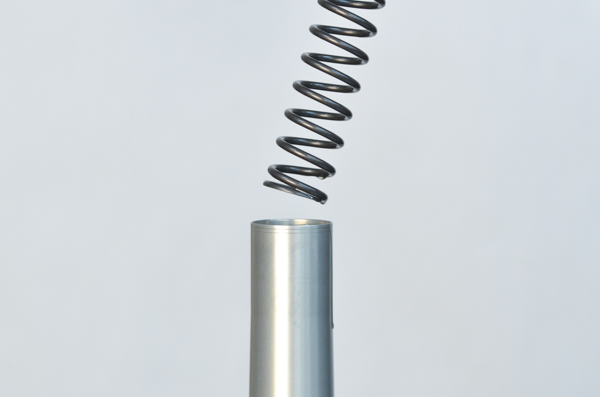
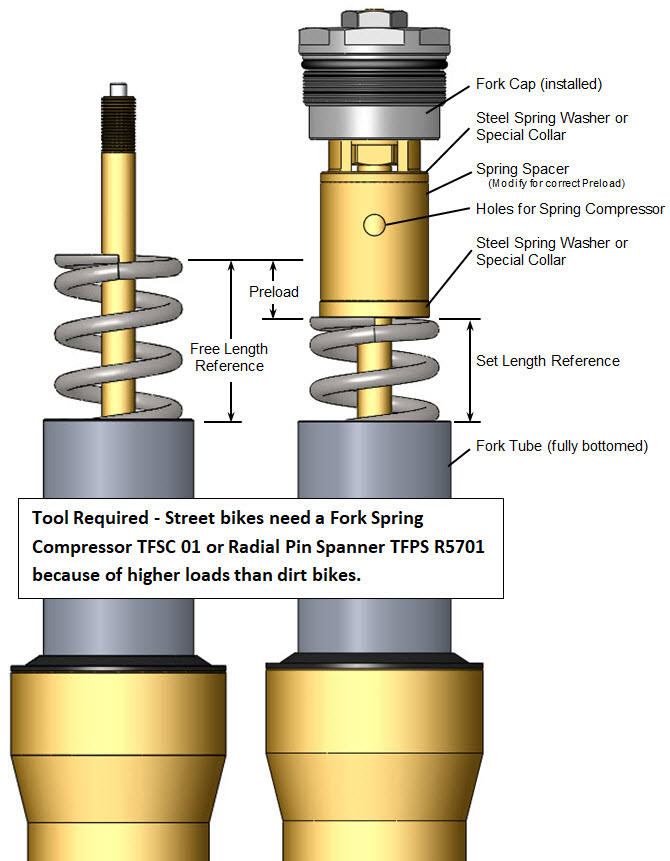
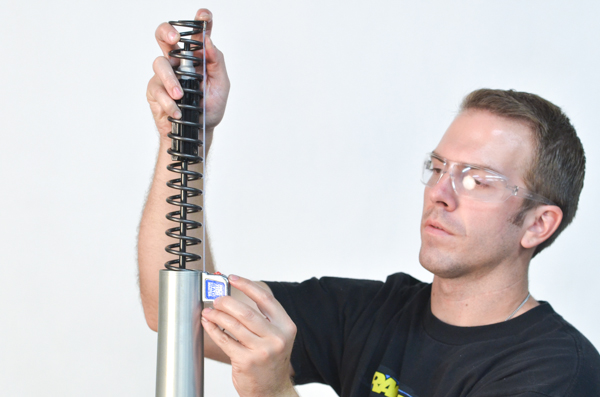
4- Insert the new spring.
 
Bottom the Outer Fork Tube fully (the Inner Chrome Tube on a Conventional Fork.)

 
Measure from the top of the Spring to the top of the Fork Tube.
 
This is the Free Length Reference.

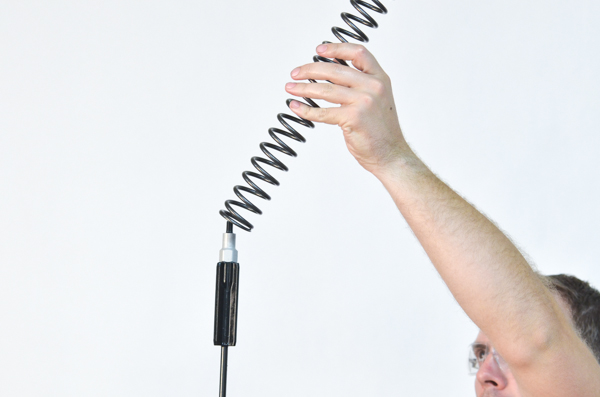
5- Find out where the fork spring touches the cap. On some models the spring fits into a recess. On the WP 4CS it is 7mm deep.

There are many styles; some with preload adjustment, some that require a spacer or tube. The cap is NOT recessed on many models.


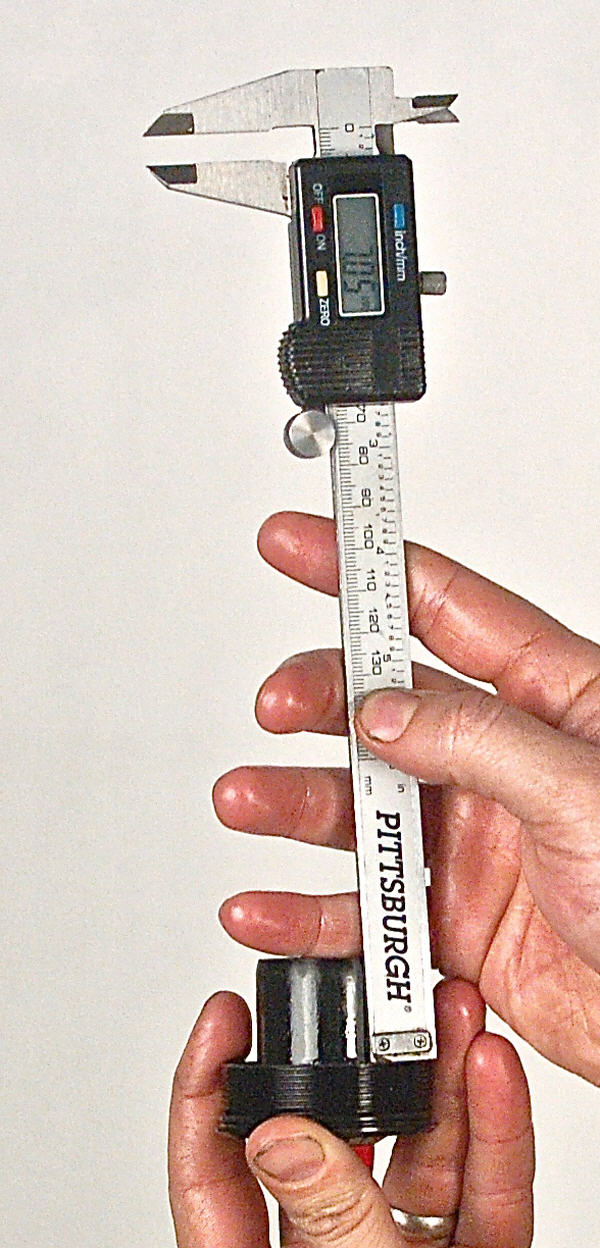
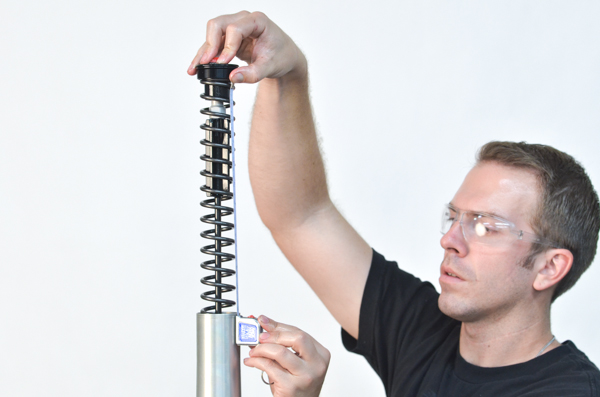
6- Install the cap fully onto the rod. Preload adjuster backed out all the way applicable.

Measure from the top of the Outer Fork Tube to the top of the Spring. This is the Set Length Reference.

The difference between the two measurements is the Preload.

The Free Length minus the Set Length is the Preload.

For 4CS forks measure to the bottom of the Cap and add 7 mm for the recess depth.

Make sure there is positive preload. In other words the Set Length is less than the Free Length.

7- Set the Preload
See the Product Search or your DVS Setup Sheet  for Preload recommendations.
Adjust the preload by adding or subtracting washers or adjusting the Preload Spacer Length.
The spring should always rest on a steel or plastic washer. It should NEVER rest on the aluminum fork cap. Be sure to take washer thickness into consideration.
On many Open-chamber forks washers are added at the bottom of the spring.
The Preload Washers must be centered. They cannot be allowed to shift sideways on an Upside-down fork or they may damage the fork tube.

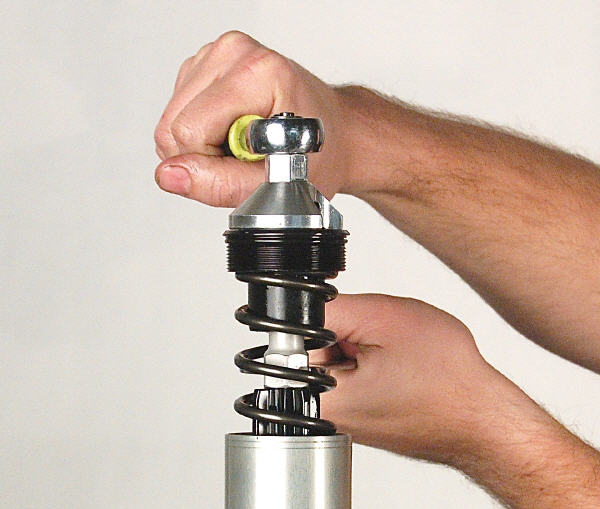
8- Tighten the jam nut to the fork cap on the damping rod. Then tighten the fork cap.

9- Set the adjusters to the recommended settings.
 
Put on the cool Race Tech fork stickers and have fun!
 
RT_E2_Logo

951.279.6655

info@racetech.com

1501 Pomona Rd. Suite 101
Corona, CA 92878

STOP! Include Service Request Form when shipping components to Race Tech.

twitter link facebook link instagram link

© 2025 Race Tech. All Rights Reserved

  • Downloads
  • Dealer Application
  • Policies
  • Cookie Policy (EU)
Race Tech
We Respect Your Privacy
To provide the best experiences, we use technologies like cookies to store and/or access device information. Consenting to these technologies will allow us to process data such as browsing behavior or unique IDs on this site. Not consenting or withdrawing consent, may adversely affect certain features and functions.
Functional Always active
The technical storage or access is strictly necessary for the legitimate purpose of enabling the use of a specific service explicitly requested by the subscriber or user, or for the sole purpose of carrying out the transmission of a communication over an electronic communications network.
Preferences
The technical storage or access is necessary for the legitimate purpose of storing preferences that are not requested by the subscriber or user.
Statistics
The technical storage or access that is used exclusively for statistical purposes. The technical storage or access that is used exclusively for anonymous statistical purposes. Without a subpoena, voluntary compliance on the part of your Internet Service Provider, or additional records from a third party, information stored or retrieved for this purpose alone cannot usually be used to identify you.
Marketing
The technical storage or access is required to create user profiles to send advertising, or to track the user on a website or across several websites for similar marketing purposes.
Manage options Manage services Manage {vendor_count} vendors Read more about these purposes
View preferences
{title} {title} {title}
Scroll To Top