10.1 Showa 35mm Twin-TubeCupped-TopRZ/RD350 1984-89Requires Brazing | ||
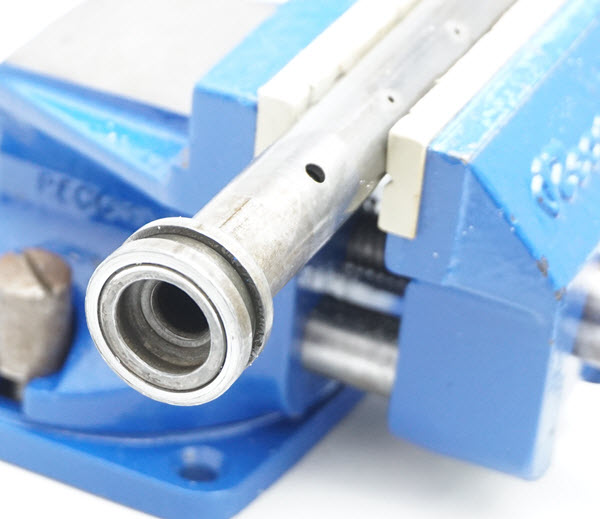
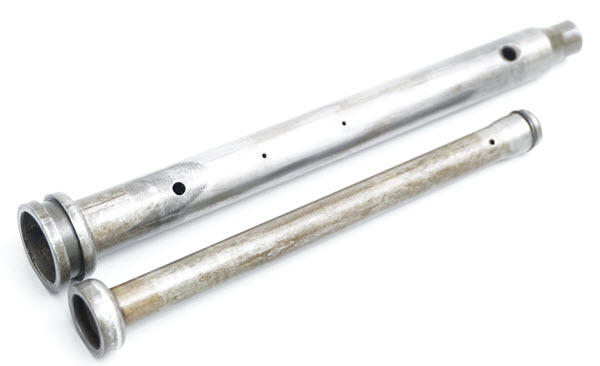
| This is a difficult installation that requires brazing. This can be performed at Race Tech if you'd prefer. The RZ has a unique "twin-tube" damping rod. The inner tube must be removed and the stock rebound feed holes must be brazed and re-drilled. Notice the ID of the damping rod in the picture. This inner tube is press fit into the outer tube. DO NOT machine down Emulators to fit! TOOLS REQUIRED (In addition to those required for standard installation): Brazing Equipment, Fine Flat File, Drill Motor and 5/64" (2.0mm) Drill Bit, 1/4" Drift (flat end punch), Vise with Soft Jaws, and a Hammer. | ||
Remove the Inner Tube | ||
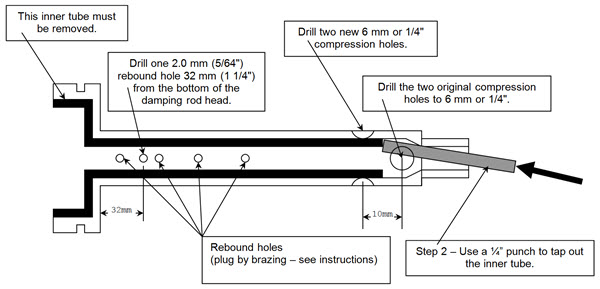
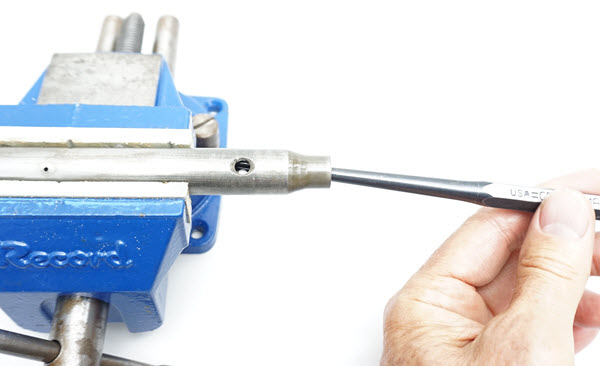
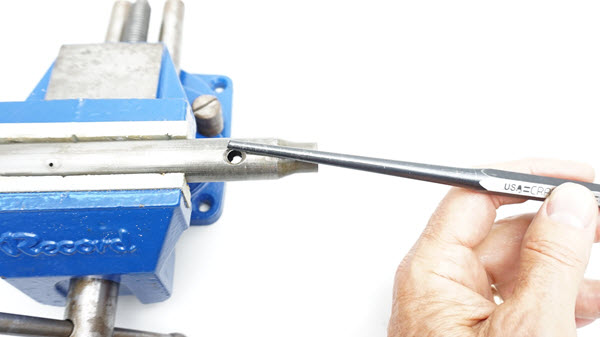 | Clamp the damping rod lengthwise in a vise with soft jaws to protect the rod. The end of the inner tube is located approximately 38mm (1 1/2") from the bottom end of the tube. The top image shows the angle and location of the end of the inner tube. Insert a 6mm (1/4") drift into the bottom of the damping rod. Angle it to the side and tap out the inner tube. Discard the inner tube. | |
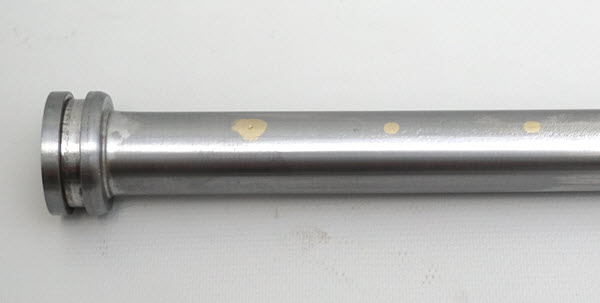 | The Tricky Part - Brazing Required There are four rebound feed holes stock. Two large holes located at the top of the rod and two small holes located further down the rod. Braze all four stock rebound feed holes shut. Completely file the excess braze off flush with the damping rod surface. Be careful not to remove steel from the damping rod itself as this will affect the rebound damping. | |
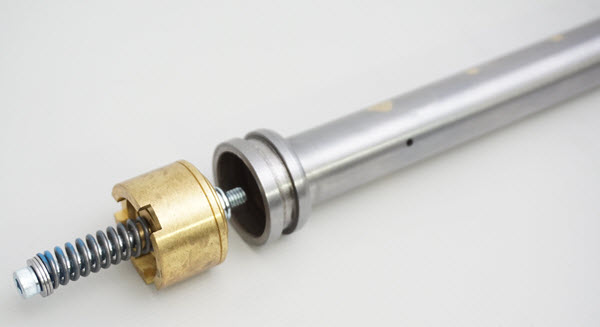 | Add A Rebound Hole Drill one new 2 mm (5/64") rebound hole 32 mm (1 1/4") from the bottom of the head of the damping rod. It should be at the same height as the top original rebound hole. Lightly deburr the hole inside and out. | |
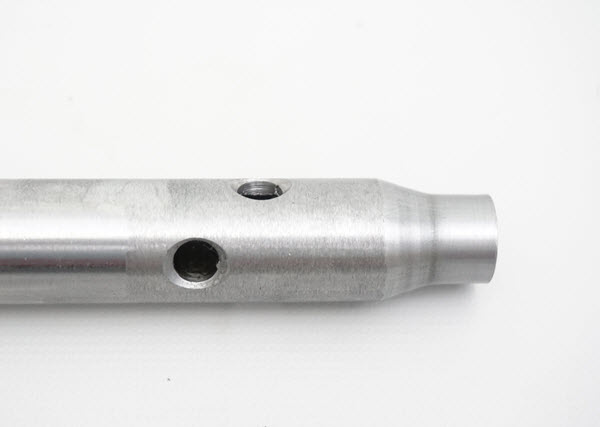 | Enlarge the Compression Feed Drill the two original compression holes out to 6mm (1/4"). Add a new set of holes 10mm (7/16") above the first set at 90 degrees to the first to maintain rod strength. Deburr holes inside and out.
Finish the Assembly See Standard Emulator Instructions. Set the spring preload and oil level according to the DVS Setup Sheet. Reassemble and enjoy! | |

