SK INSTALL G3S HON CBR250R 2011
G3-S SHOCK INSTALLATION | |
1. Remove the stock shock absorber according to the procedures in the Honda service manual. NOTE: Stock Shock removal and installation of the G3-S unit on this particular model is quite involved. The disassembly of the Fuel Tank and Air Box is required to gain access to the Upper Shock Bolt. If you are not a qualified mechanic contact your local service professional for assistance. 2. Install Upper Shock Clevis to the G3-S Upper Eyelet as shown. Torque Shock Bolt to factory specifications. | |
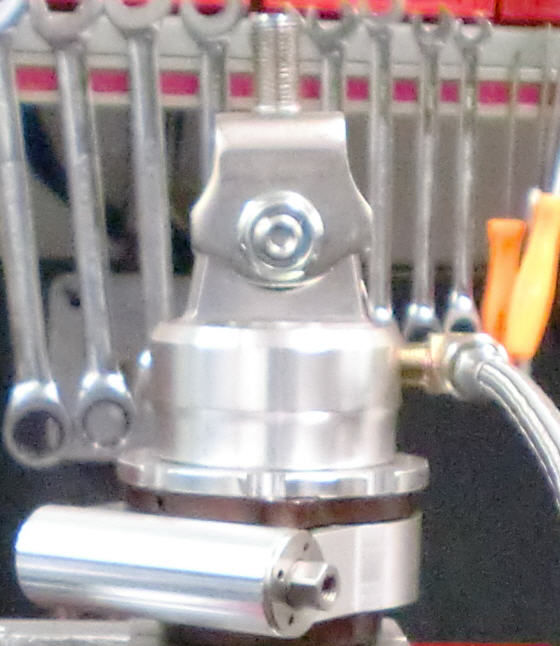
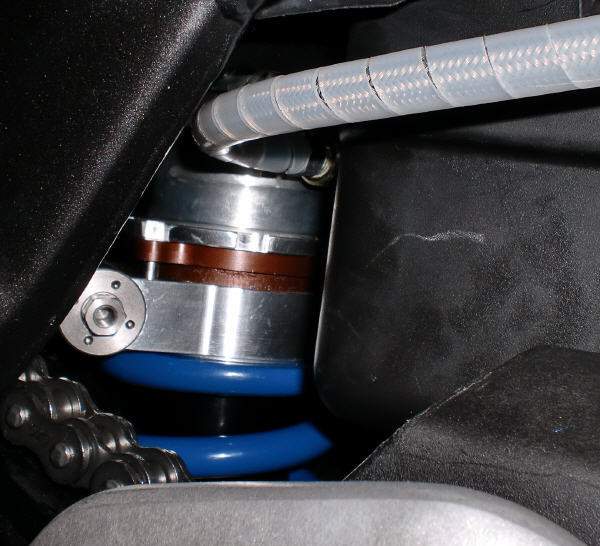
3. With Shock Linkage removed mount the G3-S Shock on the motorcycle by inserting through the bottom of the Swing Arm. The 90° fitting should face the rear of the motorcycle with the Reservoir Line exiting to the left . Torque Upper Shock Clevis Nut to factory specifications. Install Linkage and Lower Shock Bolt then torque all fasteners to factory specifications. | |
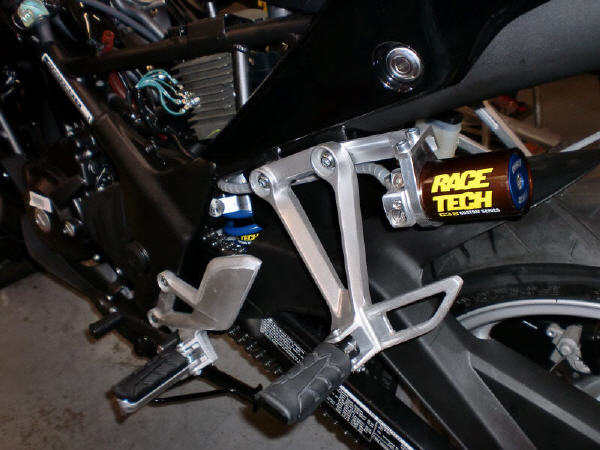
4. Remove Left side Passenger Peg. Install the Reservoir Mounting Bracket between the Passenger Peg and the Frame Mounting Tabs. The Stock Foot Peg Bolts will be used. The slight angle of the Bracket should face down with the Mounting Tab facing out. | |
5. Attach the Reservoir to the Bracket using the M6x1.0 Allen Head Bolts. 6. Install the Fuel Tank and Air Box according to the instructions in the Honda Service Manual. Have Fun!!! Go Ride!!! | |
The shock is preset for you. Please check the sag before you ride. | |